Sunday, September 29, 2013

Dyeing and Printing for Holiday Festival Nov. 9 + 10 - Tuftonboro and Melvin Village.

All the calendar dish towels dyed and ready for printing!
Large dish towels all dyed.

Real leaves printed with bleach discharge.


Close up of maple leaf print.

Calendar dish towels and regular dish towels printed with stamps.

Close up of stamp.

Close up of stamp.


Sunday, September 1, 2013

This piece was inspired by that wonderful cabbage leaf! Printed up this cloth just before harvesting the last of the cabbage from my veggie garden. Love the white against the deep red cloth. All this cloth was hand dyed.


Final piece

Close-up
 Getting caught up a bit....This happened in August at the "Art in the Park" show in North Conway NH. Won the blue ribbon for "Mixed Media / Craft" category, second year in a row! For more information on this piece go to my shop on etsy:  cornbird
Here I am with the winning piece and my ribbon!

The winning piece - All hand-dyed cloth and printed with real leaves. The inspiration was the cabbage leaf, the other leaves were from eggplat, tomato and hosta plants.

Thursday, August 22, 2013

 
The ice leaves such pretty patterns!


These will be on the bed real soon. Sweet dreams!

Here are my king-sized sheets just loosely wadded up in the bottom of the bucket. They are soaking in a soda ash solution which will react with the dye.

I rung out the cloth, dumped out the extra soda ash solution (put in a separate bucket as it can be used again)  then started wadding up the cloth back into the bucket. I laid in about half the first sheet then covered with a layer of ice cubes. Over the ice I sprinkled different shades of blue dye powder. Then I layered in the rest of the sheet and repeated the ice and dye process. Over this first sheet I did the same process with the second sheet. As the ice melts it lets the dye powder interact with the cloth. Then I just walked away and left it for 24 hours!


Stay tuned, the sheets are rinsing in the washing machine to wash out any remaining dye. They will go through several cycles, different temperatures, and all with a special detergent.

Wednesday, July 31, 2013

Printmaking Class at Plymouth State University

Work tacked up for presentation at "Art Camp" - Plymouth printmaking class.

Cabbage leaf printed with acrylic. One of many leaves I printed from the vegetable garden. This became the inspiration for several wall hanging designs.
"Home Sweet Home" printed with multiple foam plates and some of my carved rubber stamps. Over 20 stamps in this design! Used a nifty technique I learned to neatly hem the upper border in a curve!

A beautiful batik piece I created with soy wax and one of the hand prints we experimented with in class. I got on a roll with "hands" as a theme in numerous other pieces. This one ended up with the original foam plate carefully stitched to this background and framed with other hand-dyed cloth.

 Printmaking class soon became known as "Art Camp" which was how it felt working with others daily on experimentation in printmaking techniques. Several of these pieces have since been completed and can be found on my "Wall Hangings" page.

Saturday, June 22, 2013

Leaf Prints

A variety of the prints
Spent an afternoon recently printing leaves with bleach discharge. Just brush Clorox bleach pen solution onto the back of the leaf with a sponge brush. Press it on to an all-cotton colored cloth. Let it react (usually a few minutes), then wash really well in some soapy water. The surprise is in what colors will bleach down to, not always just a lighter shade of the original!
Who knew a grey would bleach down to such a beautiful green! I love the surprises in this technique!

Hosta leaf

Hosta

Geranium leaf

Another shot of the group. Will start working some of these into a wall hanging soon.

Sunday, May 26, 2013

The inspiration of todays work in the studio, after about an hour of looking through all my flower files!
The enlarged photo abstraction, carved block in upper right corner and black line print from block. This print is on paper. Block is  8" x 8" as is the photo. Photo is an ink jet print on cloth in hopes of putting all of this together eventually in a wall hanging.
Close up of line print. I really like how this came out. Would like to even simplify this to just the inner part. (Another day!)

Block and print on paper.


Two color prints on paper. One side of block is large areas of color, other side is just the lines. Magenta and tie dye backgrounds with black lines are both cloth. I was printing on everything I could lay my hands on! So much fun!

Two color print on paper. This one could be framed! That's enough for one day! I sure do love printmaking!


Saturday, May 25, 2013

Carving up some pretty roses!

Roses printed on some funky fabric.

One rose printed on a denim/tencel top. Going to add some vintage crochet to bottom edge and maybe neckline!

Old iris stamps pulled out and printed. Some previously printed fabrics torn into strips and sewed back together to use as edging,

Close up of stamps in 3 layers. 1st layer - dark violet, is a foam stamp print;  2nd layer - carved block printed with medium violet and yellow; 3rd layer carved stamp with very pale lavender.

How it might all go together!

Thursday, May 23, 2013

Lately I have been stitching away at a piece I constructed over the winter. Trying to finish up all the hand quilting. In the meantime have been getting side tracked doing up funky t-shirts from the "Swap Shop" at the local dump! Always something.......
Will take another printmaking class at PSU this summer. Working on what should be my focus this year. Maybe how to work SMALLER! My pieces seem to grow and grow! Also want to get back to using flower abstraction photos and more block prints.
Tan T-shirt with light brown line print. I added center piece and large yellow stamp and brown stamp! Worn today with a brown skirt, looked great!

Close-up

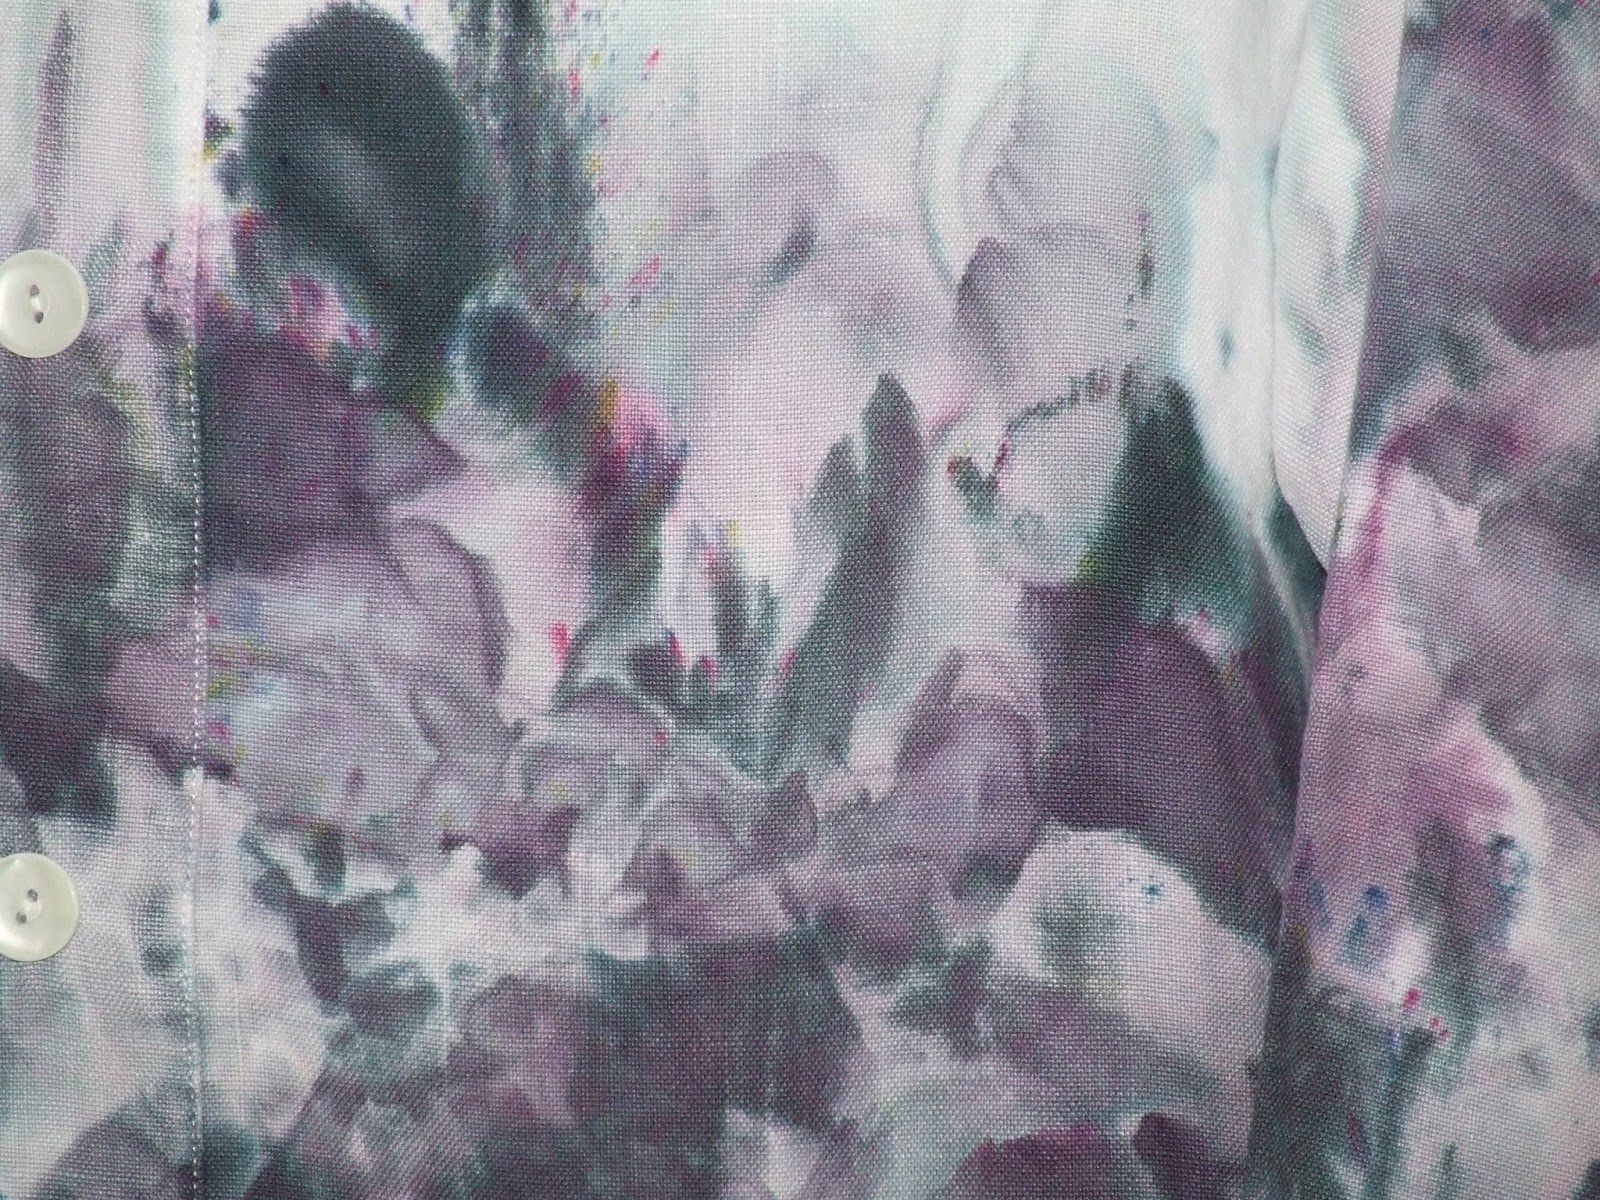
 Did this dress a few years ago and didn't like how it fit so never finished. Well, added some darts on the bodice to give it a nicer shape, hemmed and then wore it to school this past week! Originally a long, white, sleeveless linen dress. Shortened, then drew all the white lines that you see with Elmers Blue gel glue. Then painted inside all the white lines that acted like a resist. Then ironed to heat set and then washed out all the glue! Front and back are totally painted!


 Beginnings of another t-shirt. Cut a v neckline, printed layers of 2 different stamps, now working on trim for neckline, sleeve edges and bottom hemline. Those areas will be done with the printed red cloth shown below.
Close-up. Can see line pattern on shirt.

Hand printed red batik cloth for edging.